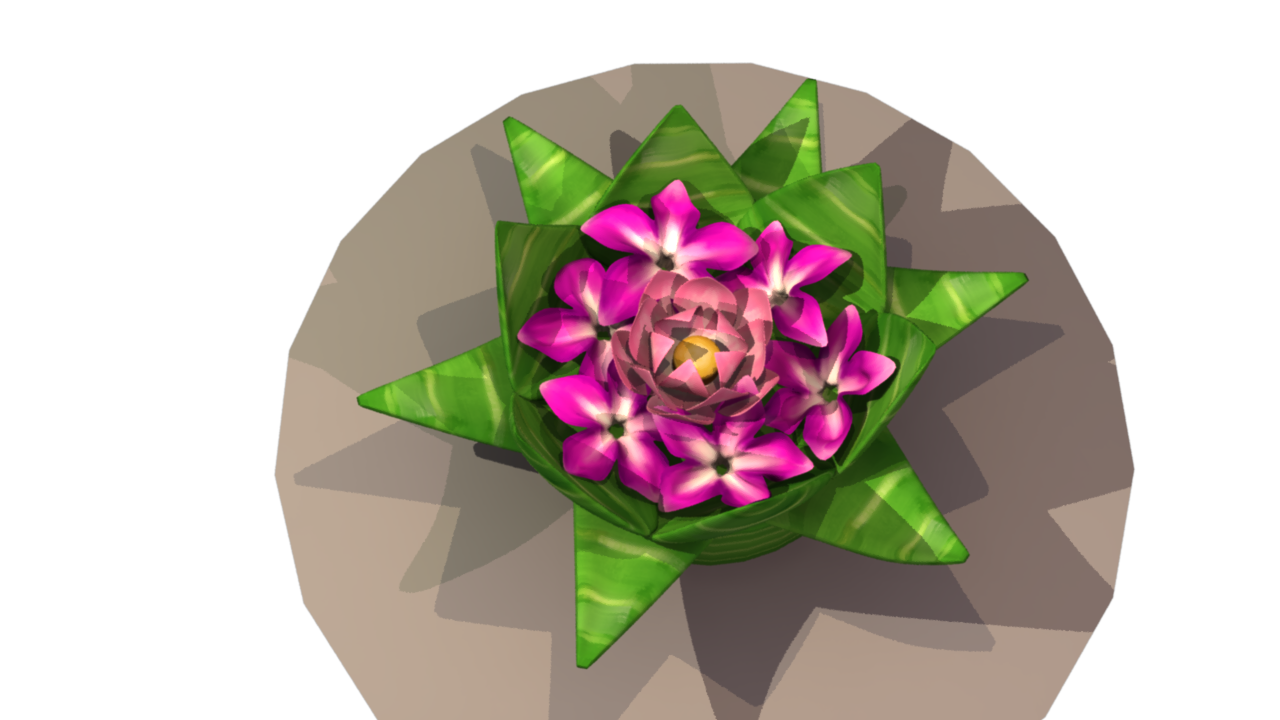
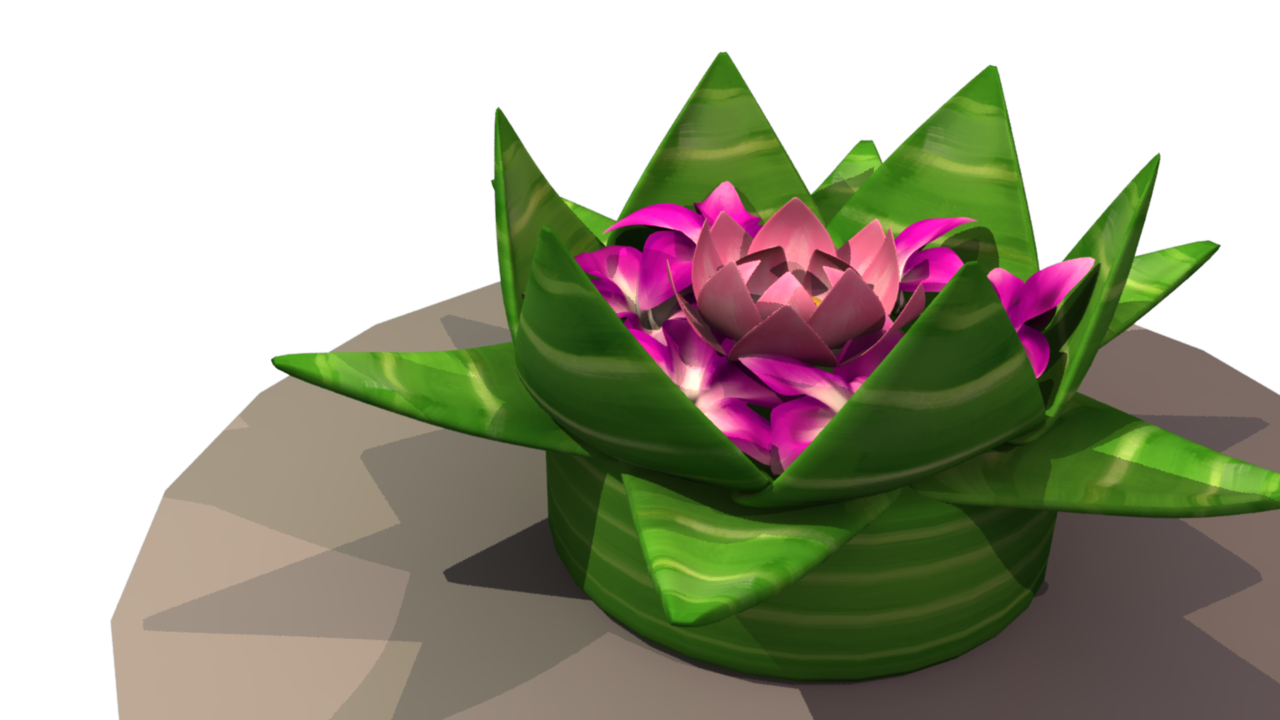
I apologize for the lack of blog posts during the past two months, but rest assured, work is definitely being done. However this post is mainly going to focus on showing off my textures since animation is still in the works at the moment and doesn't deserve blog-worthy screen-time yet (or long story short: painting skin-weights suck and animation is delayed because of it).
But I digress.
Now with my textures I initially went with my traditional method of shadering (not an actual term), which simply involved creating a plain lambert and slapping on an image file of my painted texture. However, the main problem with this was that I had to be very picky about my lights and I'd have to constantly adjust them to work with the entire scene as a whole. Lighting a single object is one thing, but having to make those lights work with several other objects is a monster to handle (and it's far beyond my skill level at the moment). So initially using my tried and true method my krathong looked like this:
Several days of researching and enlightening talk with my advisor led me to a very simple solution: surface shaders. In hindsight I really should've explored this shader more but I was too comfortable with my blinns and lamberts to step out of my texturing comfort zones. The surface shader made it so I could attach my painted textures without having to worry about lighting my object, and also maintains a fairly flat look since it's unaffected by light or shadow. Of course this is also a con since I don't want my film to look completely flat, but I came up with a solution to solve the flatness simply by creating an AO pass and a shadow transparency pass and overlaying them on top of the surface shader.
(left is plain surface shader with my texture, right is surface shader with AO pass on 50% multiply)
As you can see in right image the object kind of mimics the properties of a lambert, but the look is a lot flatter and closer to what I'm aiming for in my film. Even though I removed 3D lights from my textures I can still adjust color and add artificial lighting to my objects and scenes through after effects in post. It's a win/win.
Now as far as my character textures go, zbrush has been temperamental with me and refuses to export my textures so I've been trying to do a workaround in photoshop. The only downside is that I can't directly color on my model so I have to trust my UV mapping and hopefully produce something close to what I had in zbrush. Unlike my environmental assets I plan on directly baking AO into my character textures since the flatness is way too pronounced on the surface shader (and not being able to directly paint depth onto my characters sucks because zbrush is finnicky).
There you have it, PROGRESS. There's other behind-the-scenes stuff that I did but I'd rather lump it in the next blog post when I finally get to show some animation.


No comments:
Post a Comment